The Ultimate Guide for Collectors: protect the authenticity, original finish, and appraisal value of your historical firearms using professional techniques and the right products.
1. Why Improper Cleaning Destroys a Firearm’s Value
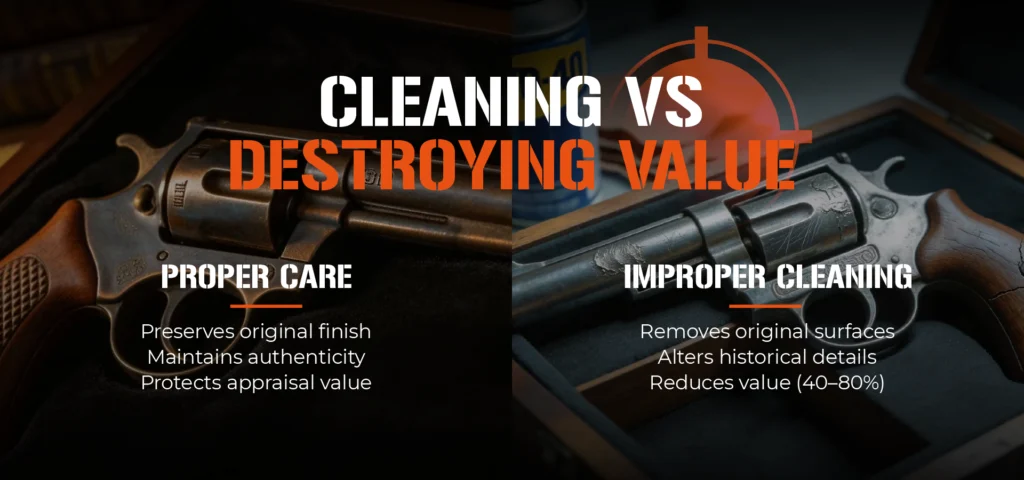
For any collector, the greatest enemy of their investment isn’t time—it’s improper intervention. Cleaning a collectible firearm incorrectly can reduce its appraisal value by 40% to 80%, especially when dealing with pieces that retain original factory finishes, engravings, nickel plating, or historical bluing.
The collectible firearms market values three key characteristics above all: originality of components, integrity of the surface finish, and documentation. A firearm that has been polished with abrasive products, sanded, or improperly refinished irreversibly loses its visual authenticity. Auction houses such as Rock Island Auction or Hermann Historica grade firearms on scales from 10 to 100, and any aggressive mechanical intervention can drop a piece several grades, resulting in significant financial loss.
Key concept: understanding the difference between “cleaning” and “preserving” is critical. Cleaning removes active contaminants such as dirt, moisture, and powder residue. Preservation protects the existing surface without altering it. Confusing these two concepts is the most common mistake among beginner collectors.
2. Before You Begin: Evaluation and Classification
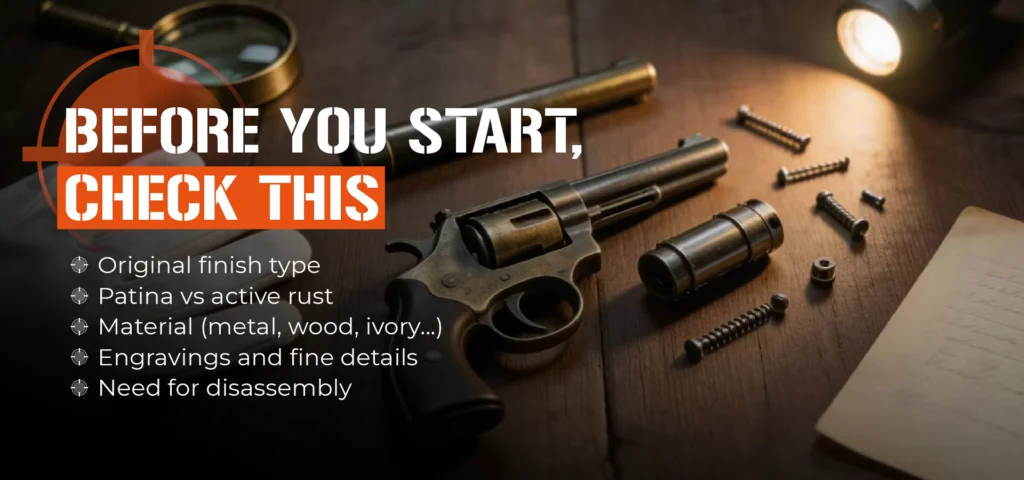
The first step before applying any product or touching the surface of a historical firearm is to conduct a thorough visual inspection using a magnifying glass or jeweler’s loupe (10x–20x). This step is critical, yet often overlooked due to impatience.
What should you identify before taking action?
- Type of original finish: bluing, nickel plating, case hardening, wood finishes, engravings, or gold/silver inlays
- State of oxidation: distinguish between active rust (reddish, fresh), stabilized oxidation, and natural patina
- Non-metal components: wood grips, ivory, mother-of-pearl, or Bakelite require entirely different treatments
- Presence of engravings or inscriptions: highly sensitive areas where abrasives can destroy irreplaceable detail
- Removable parts: determine whether partial disassembly is necessary or if surface cleaning is sufficient
Once evaluated, classify the firearm into one of three levels of intervention:
- Preventive maintenance (light dust removal and protection)
- Active cleaning (removal of accumulated dirt or residue)
- Conservation treatment (addressing active corrosion or deterioration)
3. Recommended Tools and Products
The selection of tools and products is what separates professional conservation from irreversible damage. The golden rule is simple: less is more.
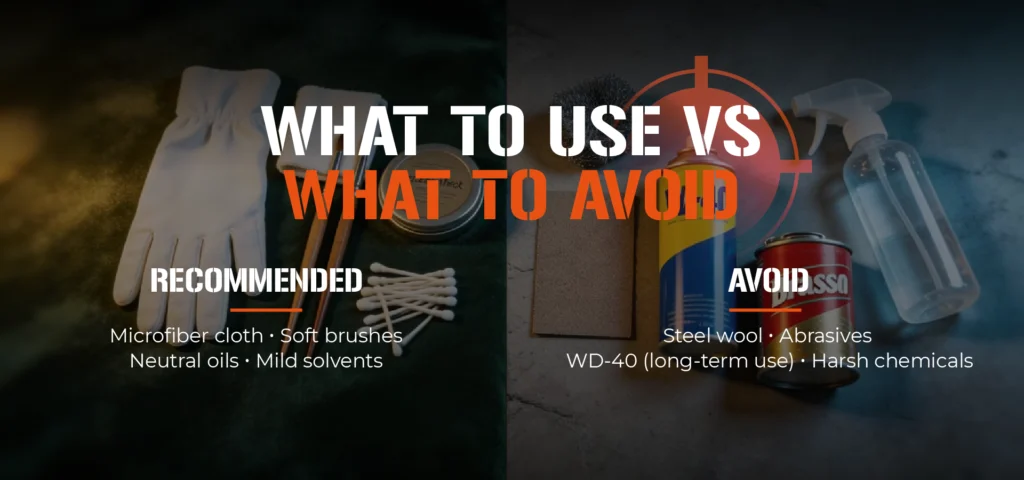
Recommended:
- Microfiber cloths with no loose fibers
- Soft natural-bristle brushes (such as sable hair or fine paintbrushes)
- Neutral preservation oils (Renaissance Wax, Ballistol, or mineral oil)
- Mild solvents (cleaning naphtha or 70% isopropyl alcohol)
- Cotton swabs for precision areas
- Magnification and proper lighting
Never use on collectible firearms:
- Steel wool
- Sandpaper of any grit
- WD-40 as a long-term treatment
- Bleach or acidic chemicals
- Abrasive metal polishes (such as Brasso)
- Automotive waxes with abrasive compounds
- Chlorinated solvents
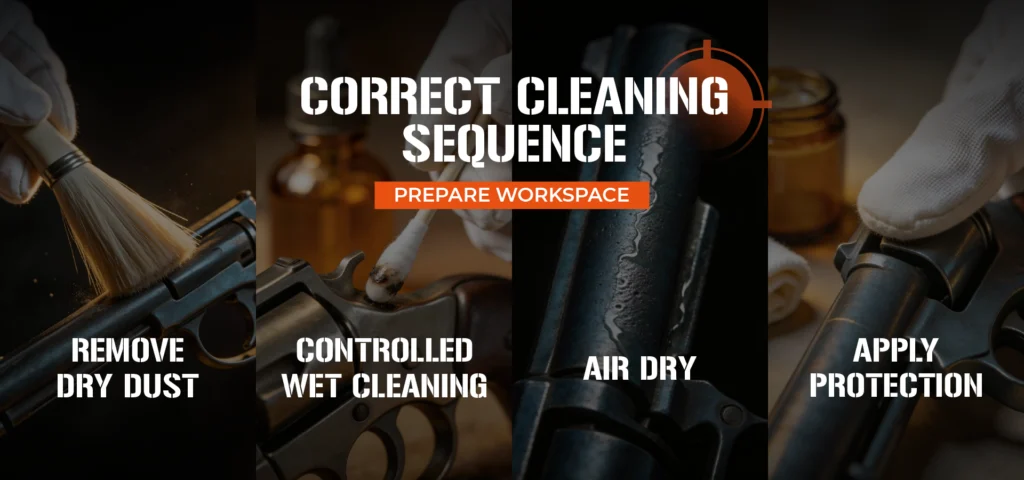
4. Step-by-Step Cleaning Process
Following the correct sequence is essential. Skipping steps or changing the order can lead to damage that may not be immediately visible.
Step 1: Prepare your workspace
Work on a clean surface covered with a soft cloth or white paper. Use lateral lighting to reveal surface texture. Wear cotton gloves to prevent transferring oils or moisture from your hands.
Step 2: Dry surface dust removal
Before applying any liquid, remove loose dust with a soft brush. Always move in one direction—never in circular motions. Treat the firearm with the same care used in archaeological fieldwork.
Step 3: Controlled wet cleaning
Lightly dampen a cotton swab with cleaning naphtha or isopropyl alcohol. It should be barely moist, not soaked. Work in small sections (3–5 cm²), replacing the swab as soon as it becomes dirty.
For wooden grips, use a microfiber cloth with a minimal amount of pure linseed oil or diluted tung oil.
Step 4: Drying and ventilation
Allow the firearm to rest for at least 20 minutes so solvents can fully evaporate. Avoid forced air or artificial heat.
Step 5: Apply protective coating
Apply a very thin layer of neutral preservation oil or Renaissance Wax. The goal is an invisible protective film—not shine. Remove excess with a clean, dry cloth.
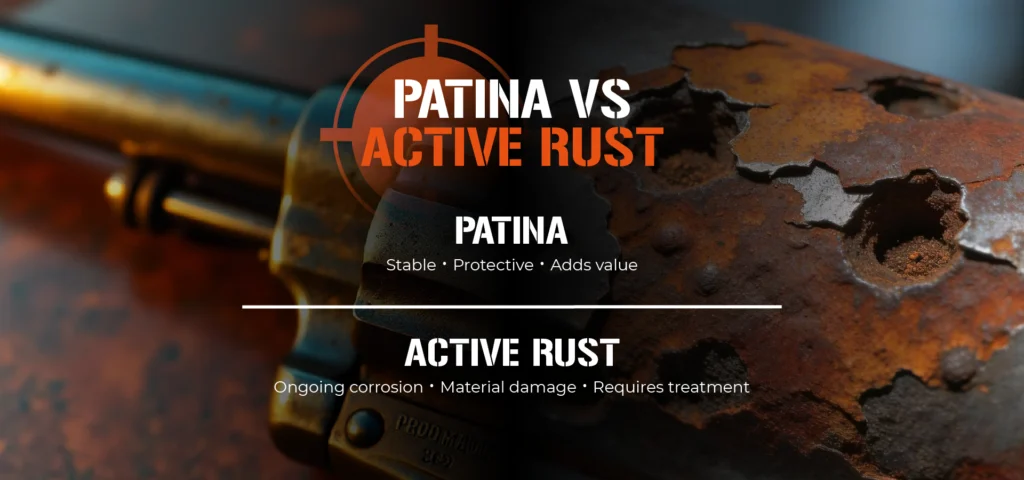
5. Treating Rust Without Removing Historical Patina
This is the most delicate part of the entire process. Patina and rust may look similar but have completely different implications.
- Patina: a stable layer formed over decades; protective and highly valued
- Active rust: ongoing corrosion that damages the base metal
Localized rust treatment:
Apply neutral oil with a cotton swab and let it sit for 24 hours to stabilize the corrosion. In more advanced cases, tannin-based rust converters (such as concentrated black tea extract) can be used. This method, used in European museums, converts rust into stable iron tannate without affecting the base metal and is chemically reversible.
Collector rule:
If you cannot confidently distinguish between patina and rust—do not intervene. Consult a professional conservator.
6. Proper Storage to Preserve Long-Term Value
Storage is responsible for more than 60% of the deterioration collectible firearms experience over time. Temperature, relative humidity, and light exposure are the critical variables every collector must control.
Temperature:
Maintain a stable range between 16°C and 20°C (60–68°F). Sudden fluctuations create condensation, which initiates corrosion processes.
Relative Humidity:
Keep humidity between 45% and 55%.
- Below 40%: wooden grips may crack or dry out
- Above 60%: metal oxidation accelerates
Use a digital hygrometer inside your storage space to monitor conditions accurately.
Light Exposure:
Avoid direct ultraviolet (UV) light. UV rays degrade organic materials such as wood, ivory, and mother-of-pearl, and can alter the tone of historical finishes like bluing.
Physical Support:
Never store firearms on synthetic fabrics that retain moisture. Use wooden supports covered with natural velvet or 100% wool felt to provide stability without trapping humidity.
Storage Cases:
If using cases or sleeves, they must be made of untreated natural cotton. Avoid leather cases, as tannins can react with ferrous metals and promote corrosion.
Desiccants:
Use silica gel packs in safes or display cabinets, replacing or recharging them every six months. Avoid calcium-based desiccants, as they can create abrupt humidity fluctuations.

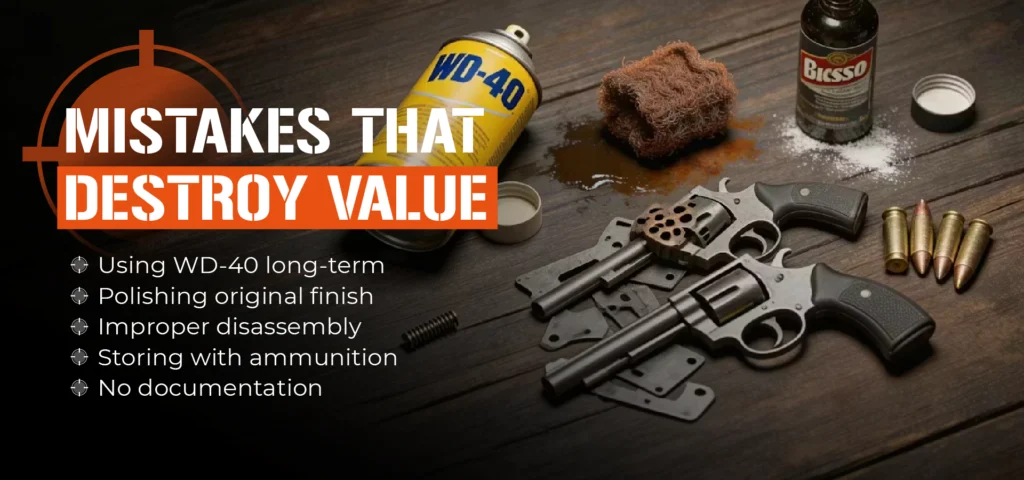
7. Most Common Mistakes Collectors Make
Analysis of firearms sent for professional restoration reveals consistent patterns of avoidable mistakes. Understanding them is the best way to prevent irreversible damage.
Mistake 1: Using WD-40 as a preservation oil
WD-40 is a water-displacing lubricant designed for mechanical applications—not long-term conservation. Over time, it can degrade certain finishes and leave a residue that attracts dust, accelerating secondary corrosion.
Mistake 2: Polishing to “improve” appearance
Shine does not equal value. A 19th-century pistol with its original, slightly worn blued finish can be worth 3 to 10 times more than the same piece that has been polished and stripped of its original finish. Never polish a collectible firearm to make it look “better.”
Mistake 3: Disassembling without proper knowledge
Incorrect disassembly can damage original threads, hand-fitted components, and internal finishes—details that are critical for historical authentication. Only disassemble if you fully understand the mechanism or are working with a qualified specialist.
Mistake 4: Storing firearms with ammunition
Ammunition releases chemical vapors over time from primers and powder. These vapors are corrosive and can accelerate metal degradation. Always store firearms and ammunition separately.
Mistake 5: Failing to document condition before intervention
Before any cleaning or conservation work, photograph the firearm in natural light from multiple angles, including close-up macro shots of critical areas. This documentation serves as a reference for valuation, insurance, and professional appraisal.
8. When to Consult a Professional Restorer
There are situations where professional intervention is not optional—it is essential if you want to preserve the firearm’s value.
Seek a certified conservator or рестorer when you encounter:
- Deep corrosion affecting the base metal or causing material loss
- Structural damage to wood, including cracks, joint separation, or insect infestation
- Precious material inlays (gold, silver, ivory, mother-of-pearl) that are deteriorating
- Engravings with gold fill or enamel that are partially worn or damaged
- Blocked or malfunctioning mechanisms with internal component damage
- Firearms valued above $5,000, where the risk of improper intervention outweighs the cost of professional work
In Spain, professionals can be found through the Cultural Heritage Restoration bodies (IPCE). Internationally, the most recognized organizations include:
- International Institute for Conservation (IIC)
- American Institute for Conservation (AIC)
Working with certified professionals ensures that any intervention is reversible, documented, and aligned with conservation standards.

Conclusion: Preserve to Increase Value
Proper cleaning and preservation of collectible firearms is a discipline that requires patience, technical knowledge, and—above all—restraint.
The greatest value you can add to a historical firearm is not by altering it, but by protecting what time has already created.
By following the protocol outlined in this guide—careful evaluation, correct tools, controlled techniques, optimal storage, and consistent documentation—you will not only preserve the financial value of your collection but also contribute to safeguarding historical heritage for future generations.
Annual Maintenance Checklist
- Visual inspection using magnification
- Full photographic documentation of condition
- Light surface cleaning with a dry soft brush
- Verification of storage temperature and humidity levels
- Replacement or reactivation of desiccants
- Inspection of supports and storage materials
- Application of a thin protective layer of neutral oil on exposed metal surfaces